Extract audio tracks from DVD or Blu-ray disc
(activation required)
- Load Blu-ray / HD-DVD / DVD in disc ripper
- Open disc ripper
- Load audio transcoding profile
- Choose profile level
- Start extracting audio
1. Load Blu-ray / HD-DVD / DVD in disc ripper
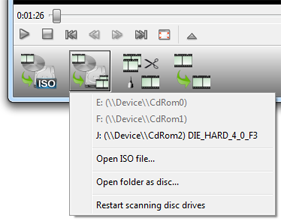
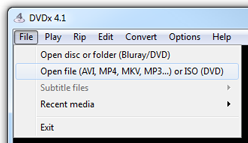
First you must load the disc in DVDx 4.1, either from main menu which loads disc in the player (full-featured player to preview movies), either from disc ripper menu.
Load Blu-ray / HD-DVD / DVD in disc ripper
Load disc in player (ripper auto-loading)
You can load disc for playback and ripping.
However encrypted HD disc (Blu-rays and some HD-DVDs) won't play, so loading fails and you MUST load them directly in the ripper.
2. Open disc ripper
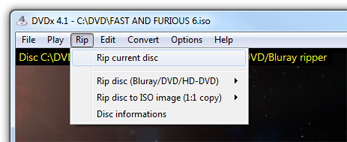 |
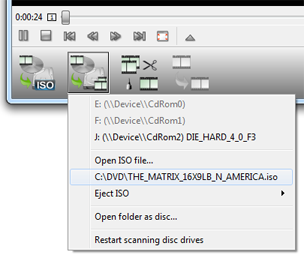
Alternatively you can open the disc which is loaded for playback (which is also available from ripper widget menu).
|
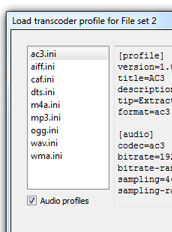
3. Load audio transcoding profile
4. Choose profile level
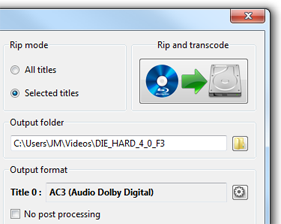
| All good profiles settings are chosen for you but you can change profile level to get a smaller file or a better quality one. |
Advanced user can select 'User settings' level and tweak video and audio formats. |
Audio settings
For multi-channel audio streams (Dolby/DTS 5.1 and 7.1),
Dolby Prologic IIstereo down-mixing is automatically selected for stereo output. This keep best audio experience in stereo output.
5. Start extracting audio
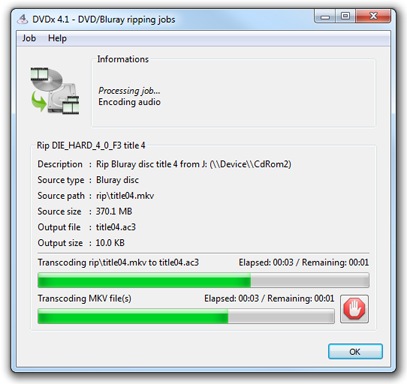
 You're now ready to start audio extraction, jut click the start You're now ready to start audio extraction, jut click the start Rip and transcode button and follow on extracting progression. |
 |
