Recode DVD or Blu-ray rip (MKV files)
(with FREE converter)
- Load Blu-ray / HD-DVD / DVD rip (MKV file) in converter
- Select audio and subtitles streams to copy or transcode
- Load transcoding profile
- Choose profile level
- Start transcoding
1. Load Blu-ray / HD-DVD / DVD rip (MKV file) in converter
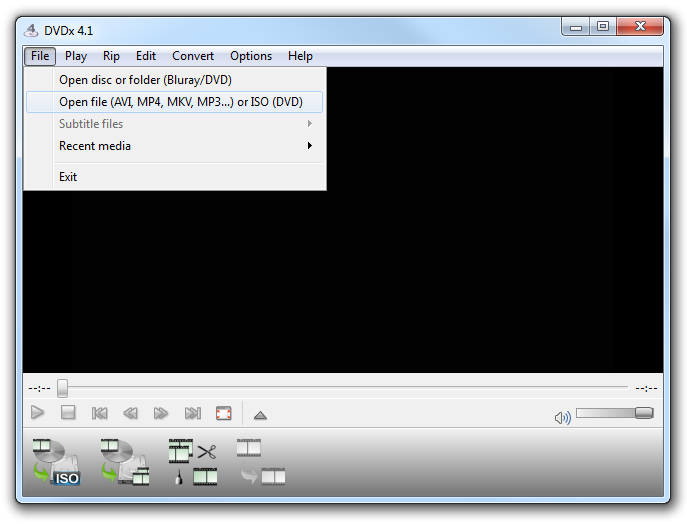
First you must load the file in DVDx 4.1, either from File menu, either with drag'n'drop file into the player (full-featured player to preview movies).
If you ripped the disc with DVDx 4.1, MKV title files are in rip sub-folder.
Load MKV file in player (so in converter)
From the
Filemenu, chooseOpen file...or previous file fromRecent mediamenu.The file will start playing while the converter is analyzing the file streams.
Drag'n'drop MKV file into player (so in converter)
You can also drag and drop the file into the player. The file will start playing while the converter is analyzing the file streams.
An OSD message File loaded in video converter informs you that converter is ready.
2. Select audio and subtitles streams to copy or transcode
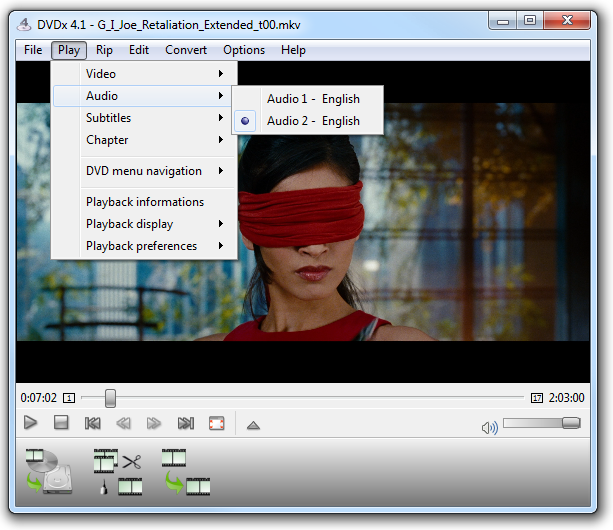 |
You can choose audio and subtitles in the player then you're sure the streams you see in playback are selected in the converter. The player is very useful to avoid confusion with several audio streams in same language (movie track, director comment). |
| However you can choose only 1 audio track and 1 subtitle track to playback, so multiple selections will be done in the converter (like described hereafter). | |
 |
Then open current file in the converter from
|
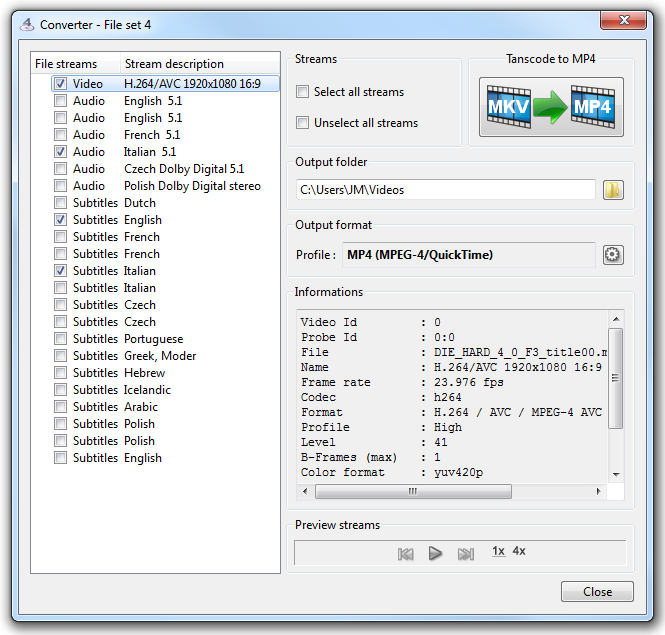 |
Now the converter window is open. Audio and subtitles you've selected in the player are selected in the converter. You can select/unselect additional streams you want to transcode.
|
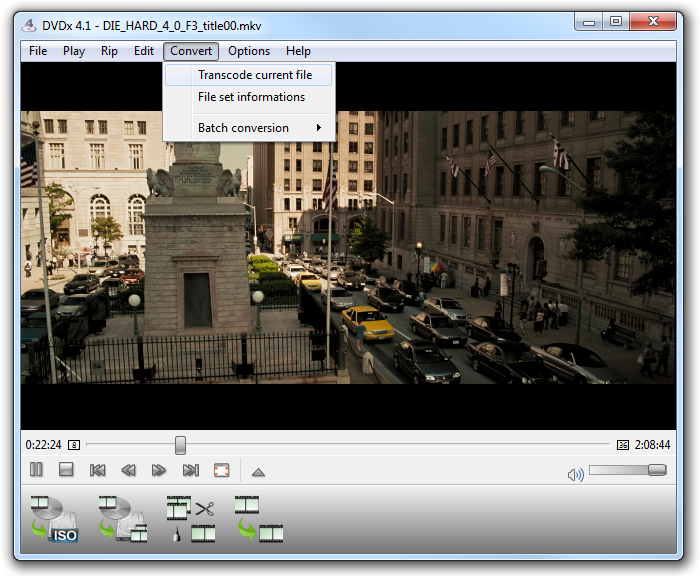
3. Load transcoding profile
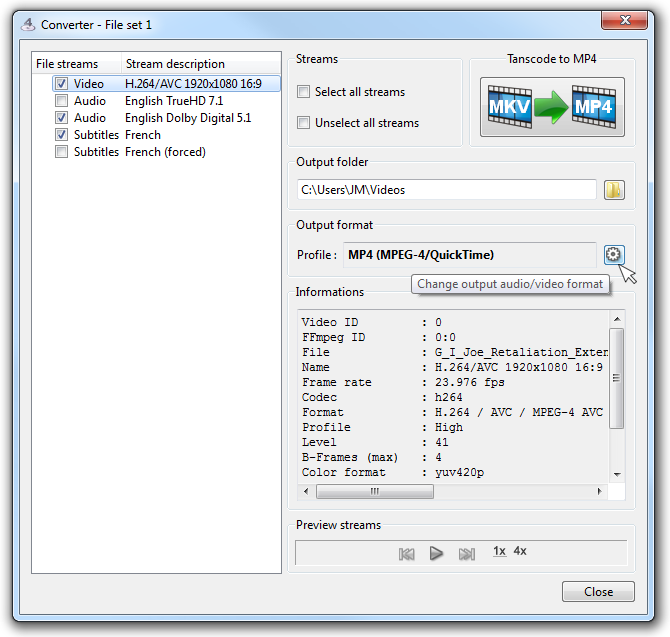 |
Click the small gear wheel button to change output format.
Important:
|
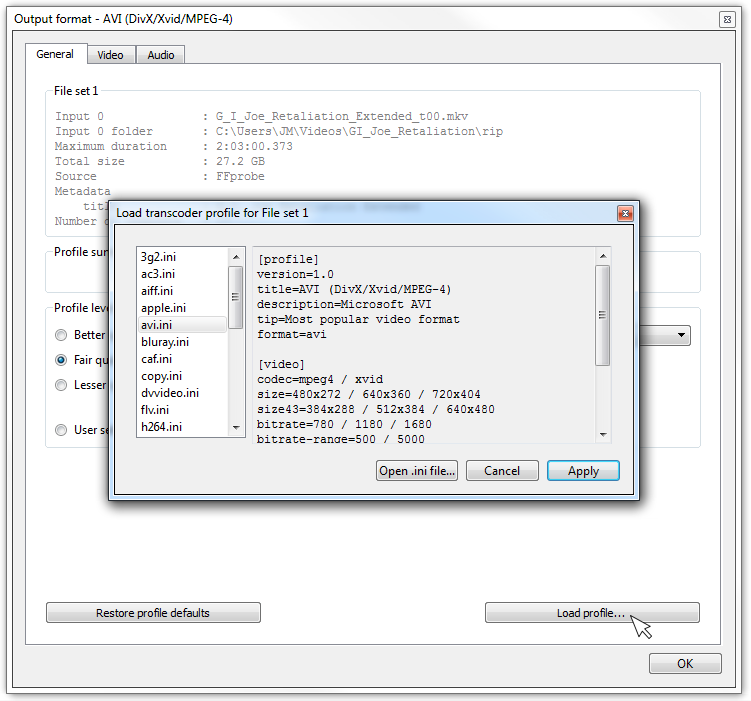 |
Now the output format window is open, click Click
|
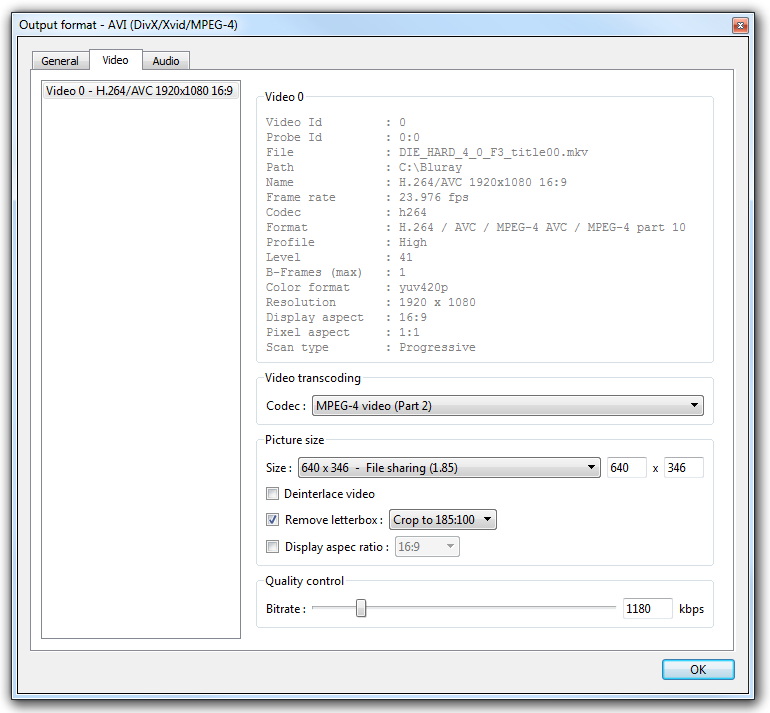
4. Choose profile level
All profiles come with a default Fair quality level with good settings chosen for you (keep it if you don't understand what settings are for) but you can change profile level to get a smaller file or a better quality one. For this tutorial, I chose
|
 |
Advanced user can select 'User settings' level and tweak video and audio formats. |
Video settings
Deinterlace video:
- Let unselected if scan type is
Progressive.- Select if scan type is
Interlaced.Remove letterbox:
- Most movies are in widescreen format (2.35 or 2.40) which you can remove horizontal black bars (letterbox).
Display aspect ratio:
- You shouldn't have to change it, unless you want to correct a corrupted video (download movie with incorrect display size a.k.a. display aspect ratio).
Audio settings
For multi-channel audio streams (Dolby/DTS 5.1 and 7.1),
Dolby Prologic IIstereo down-mixing is automatically selected for stereo output. This keep best audio experience in stereo output.Subtitles settings
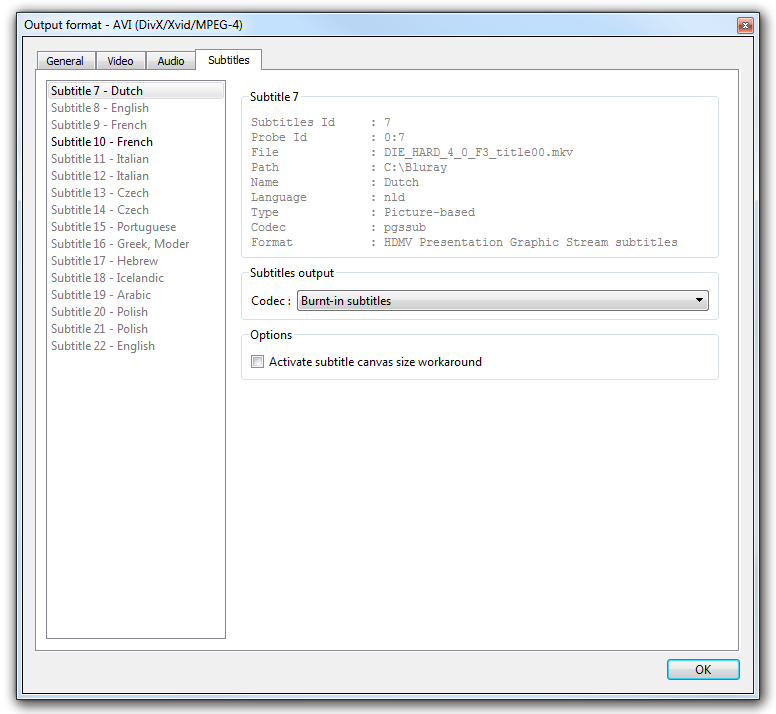
If you select multiple subtitles tracks but output format doesn't support multiple subtitles, only the first one is selected and will be burnt-in output video (permanent subtitles).
To create movie with permanent subtitles, choose
Burnt-in subtitlescodec.
Languageoption is relevant for subtitles track and particularly useful when you include subtitles files downloaded from the Internet (more...).

5. Start transcoding
 You're now ready to start transcoding, jut click the start You're now ready to start transcoding, jut click the start Transcode to AVI button and follow on the transcoding progression. |
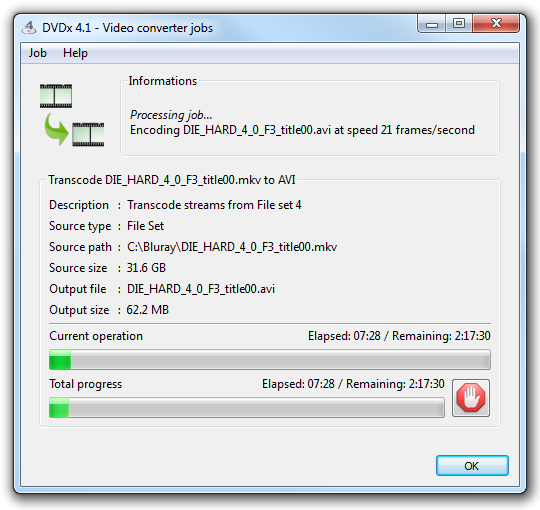 |
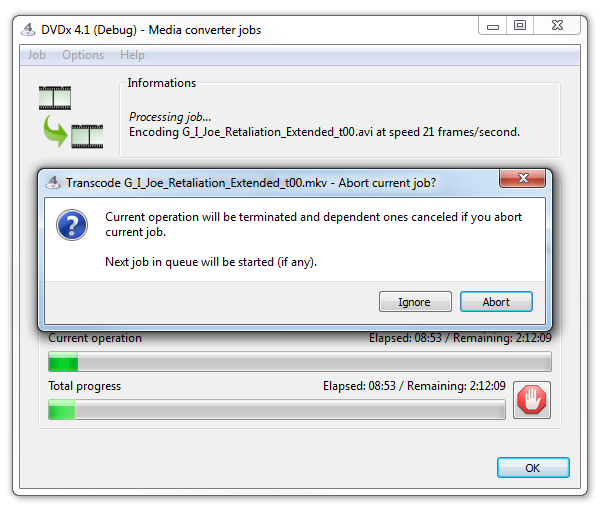
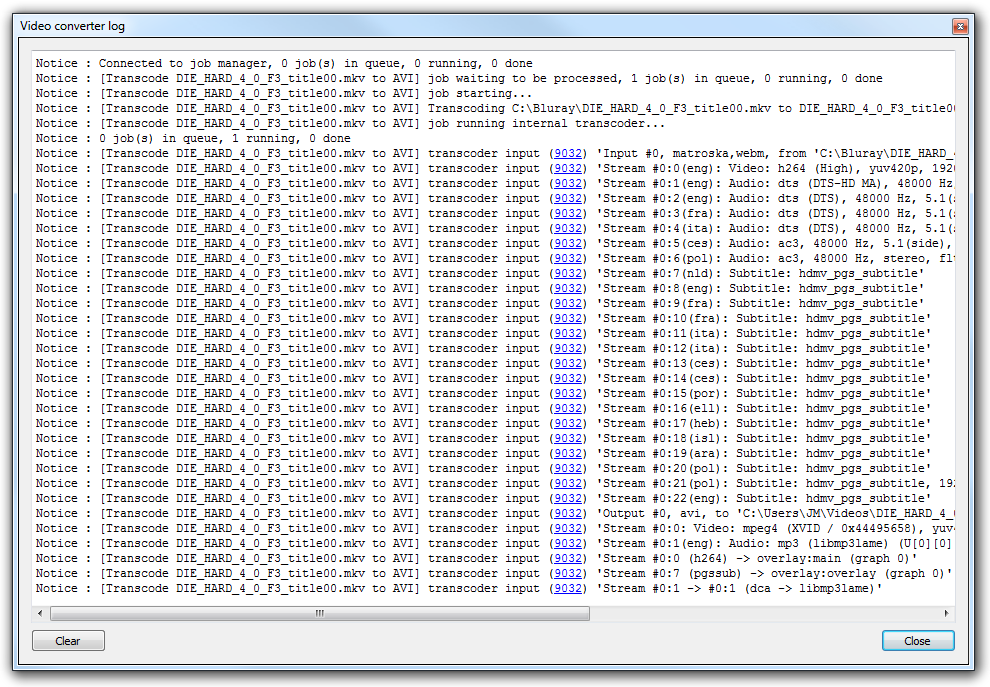
| The video converter job manager shows you transcoding progress. You can get more details in the job queue display and in the job log messages: |
 |
DVDx 4.1 is very fast (with AMD Phenom II X4 820 2.80Ghz Processor):
|
Therefore, if you want to preview a job which could be long, just abort, check in player and restart transcoding. |